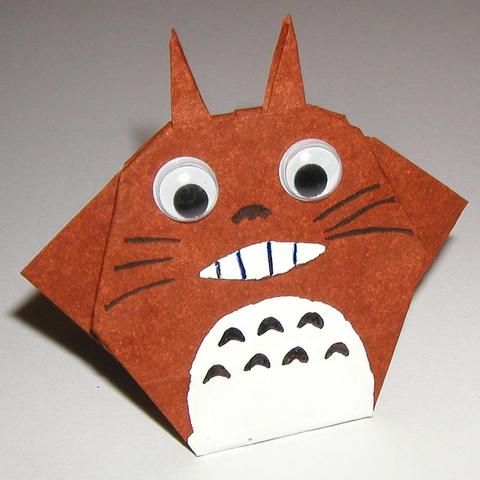
Nicolas Brodu     
          
            T O T O R I G A M I
Nicolas
Brodu
T O T O R I G A M I

Totoro Origami

Totoro origami photo

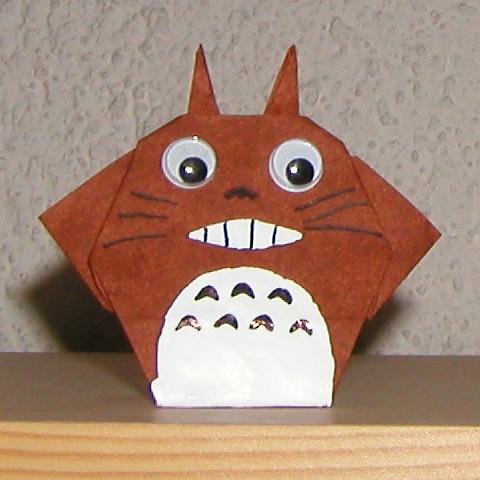
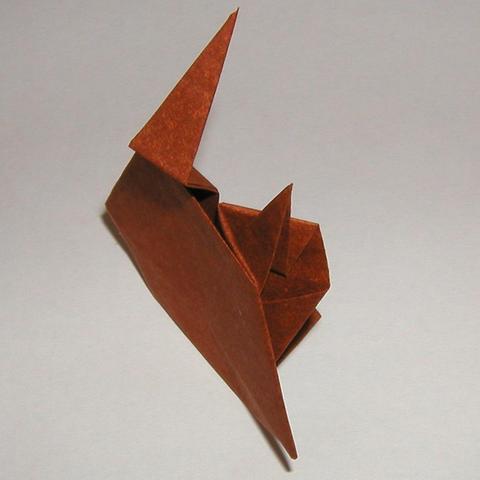
The origami beneath is my own conception. I created it in a calm and happy day, which of course made me think about the excellent animation of Hayao Miyasaki : My neighbor Totoro. Later, in a train, I reconstructed the origami and wrote down each step. And here is at last the definitive version, photographed in details.

Other Totoro foldings exist on the net, and I certainly do not intend to impose my own as the official one. Everybody should be free to choose, adapt, and create. And by the way, if you do a folding of your own, or a variant on this one, do not hesitate to contact me, I'm interested!

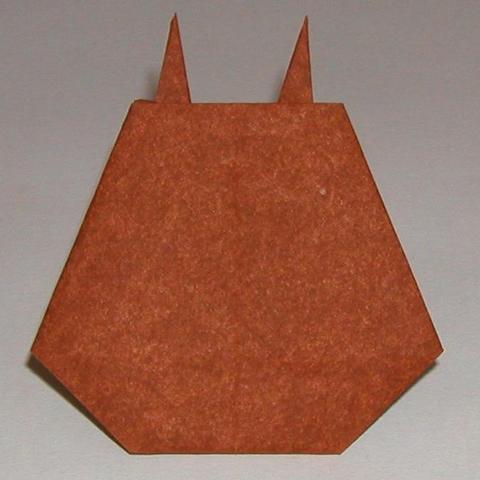
My thanks also goes to Zülal Aytüre-Scheele, for her book « L'encyclopédie des Origami », published by Fleurus. Some may recognize a variant of the beginning of the rabbit origami... which indeed inspired me with its large ears.

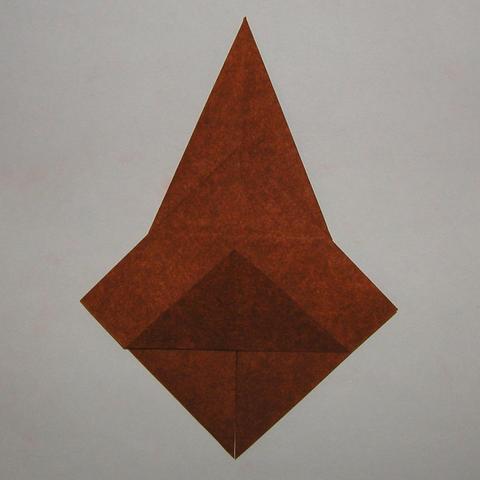
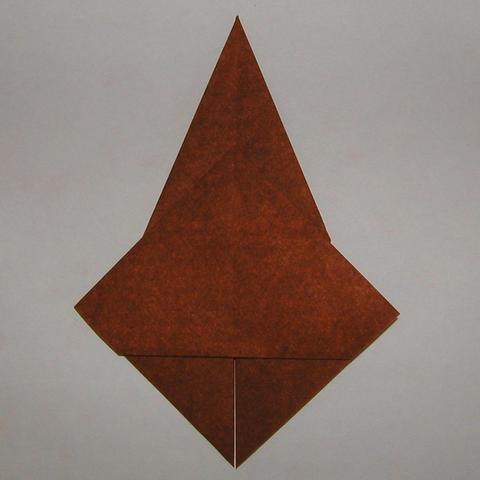
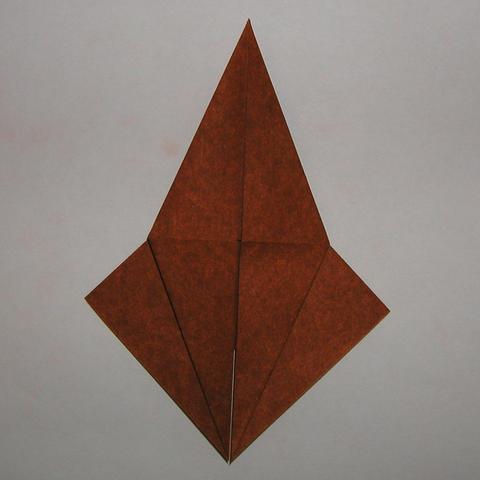
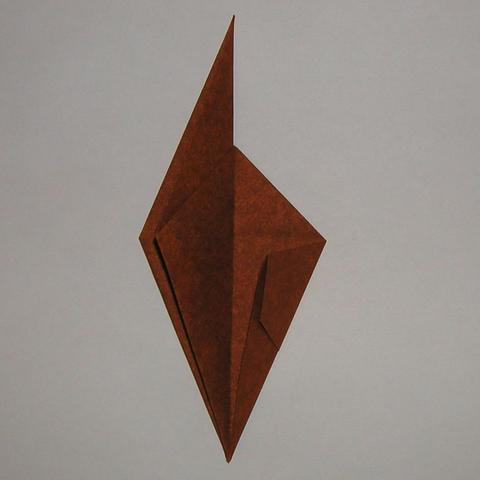
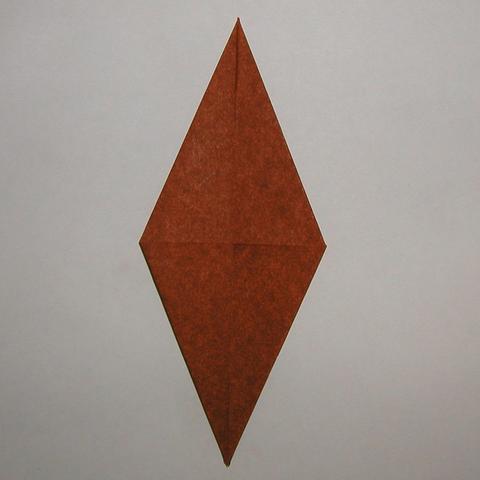
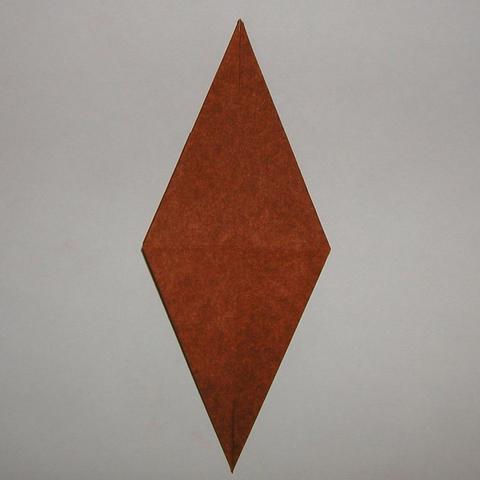
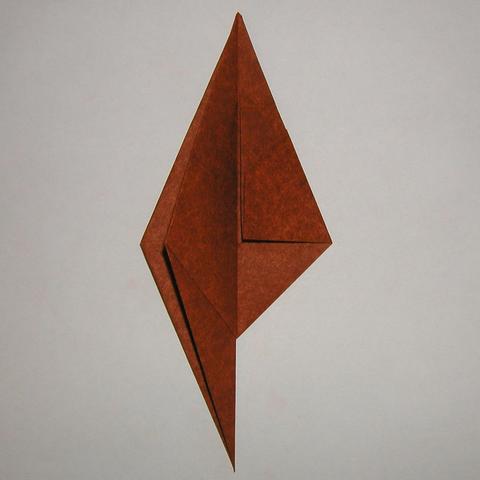
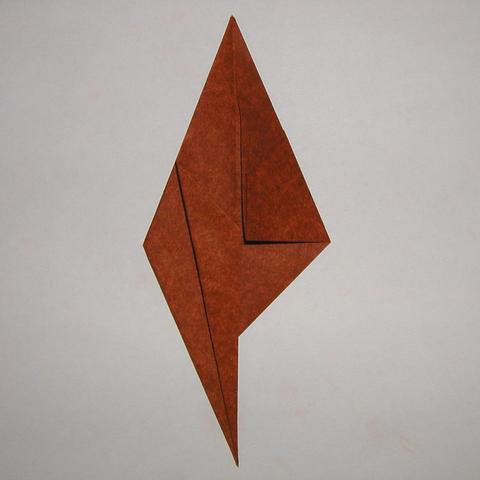
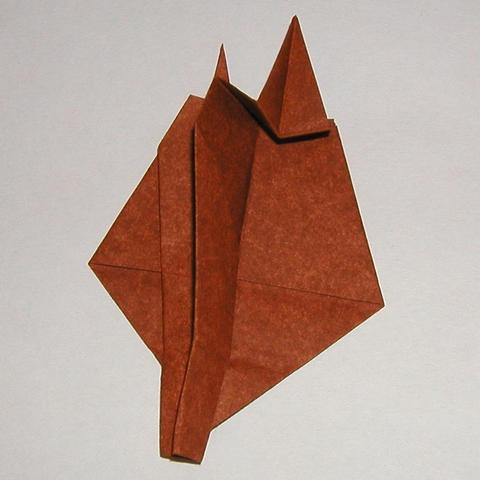
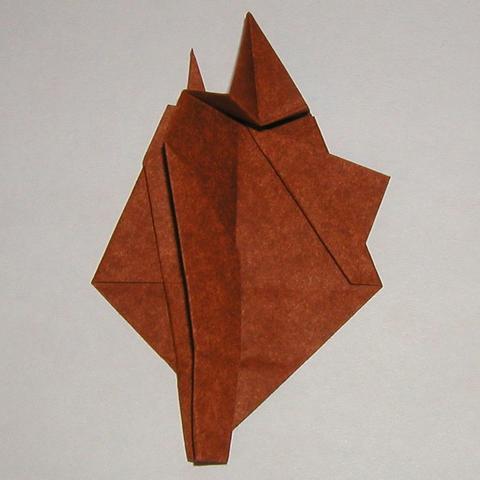
The folding below is of average difficulty. Don't pay attention to the number of steps, many were precisely added only to give more details. My intention is of course to enable everybody to make her/his own Totoro!

totorigami_01.png
As usual, the origami starts with a square.
totorigami_02.png
Fold it along the diagonals
totorigami_03.png
Unfold...
totorigami_04.png
... and return it. Now fold it along the sides, this time.
totorigami_05.png
You should get this: the centers as mountain folds, and the diagonals as valley folds.
totorigami_06.png
Now wrap the paper into a small square, the previous folds should make this natural.
totorigami_07.png
Don't do that. This photo is here only to show you another basic form. This is what you get if you do the previous steps the other way around.
totorigami_08.png
So, let's use the small square. Ensure the opening is on the bottom. Now fold the sides toward the center.
totorigami_09.png
Fold and unfold the top, and crease the fold well.
totorigami_10.png
As shown on the photo, unfold the bottom...
totorigami_11.png
...to close the figure on the top.
totorigami_12.png
Return the paper. Then fold the bottom corner toward the center.
totorigami_13.png
Fold it the other way around, inside the figure.
totorigami_14.png
Now return the paper again.
totorigami_15.png
Turn one of the flaps...
totorigami_16.png
...so as to fold the corresponding side of the square as shown, toward the center.
totorigami_17.png
Do the same on the other side.
totorigami_18.png
Close the figure.
totorigami_19.png
Put it upside-down, without returning it.
totorigami_20.png
Turn one of the flaps again.
totorigami_21.png
And fold the flap itself toward the center, as shown.
totorigami_22.png
Close the figure...
totorigami_23.png
...to do the same...
totorigami_24.png
...on the other side.
totorigami_25.png
We'll now make the tail of Totoro. Fold the bottom point toward the center.
totorigami_26.png
Open the sides so as to lock the point inside.
totorigami_27.png
Close and squash well.
totorigami_28.png
Now fold again the tail of Totoro toward the center. For example, by putting the point of the triangle on the line, as shown.
totorigami_29.png
Return the paper.
totorigami_30.png
Fold the ears toward the bottom...
totorigami_31.png
...and unfold pretty points toward the top. It's up to you to choose the ears direction and size. I personally like vertical external borders, but some may prefer other directions.
totorigami_32.png
Crease the folds well before this step. It's about folding inside the ears, so they don't show up neither on the front nor on the back.
totorigami_33.png
Here is the result from the front side...
totorigami_34.png
...and from the back.
totorigami_35.png
Still from the back, unfold now the tail and one of the flaps.
totorigami_36.png
Fold one of the flaps toward the exterior, so as to make an arm. The folding starts below the ear, but stops before the border. The further it is from the border, and the higher will be Totoro's belly. But the arms will be smaller too, so it's up to you.
totorigami_37.png
Do the other arm the same way.
totorigami_38.png
And close the figure.
totorigami_39.png
Also close the tail, to visualize where is the bottom.
totorigami_40.png
Now correct the global shape, by folding the sides under the arms. As said above, the arm folds don't go up to the edges. This is to higher Totoro's belly.
totorigami_41.png
Fold the sides under the arms inside...
totorigami_42.png
...on both sides.
totorigami_43.png
Return the figure. Here is Totoro from the front...
totorigami_44.png
...and here again. We'll now smooth the head angles...
totorigami_45.png
...like this, seen from above. Simply fold inside the corners between the ears and the arms, so as to make the shoulders.
totorigami_46.png
Here is the result from the back....
totorigami_47.png
...and the front.
totorigami_48.png
As mentioned earlier, the ears directions change the final look. Here is another folding, where this time the ears interior is vertical.
totorigami_49.png
And another one again, where the arms and belly are higher.
totorigami_50.png
The same, on the back (He is dressing up).
totorigami_51.png
And here he is...
totorigami_52.png
...smiling from the top of a branch!
Style:
      C R E A T I O N S 
T
O
T
O
R
I
G
A
M
I
T
O
T
O
R
I
G
A
M
I